Camera Obscura:
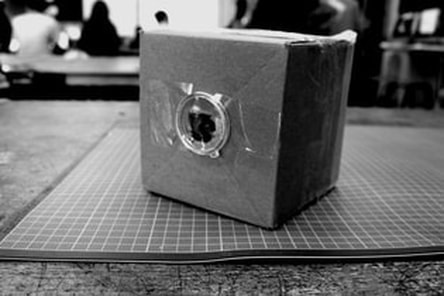
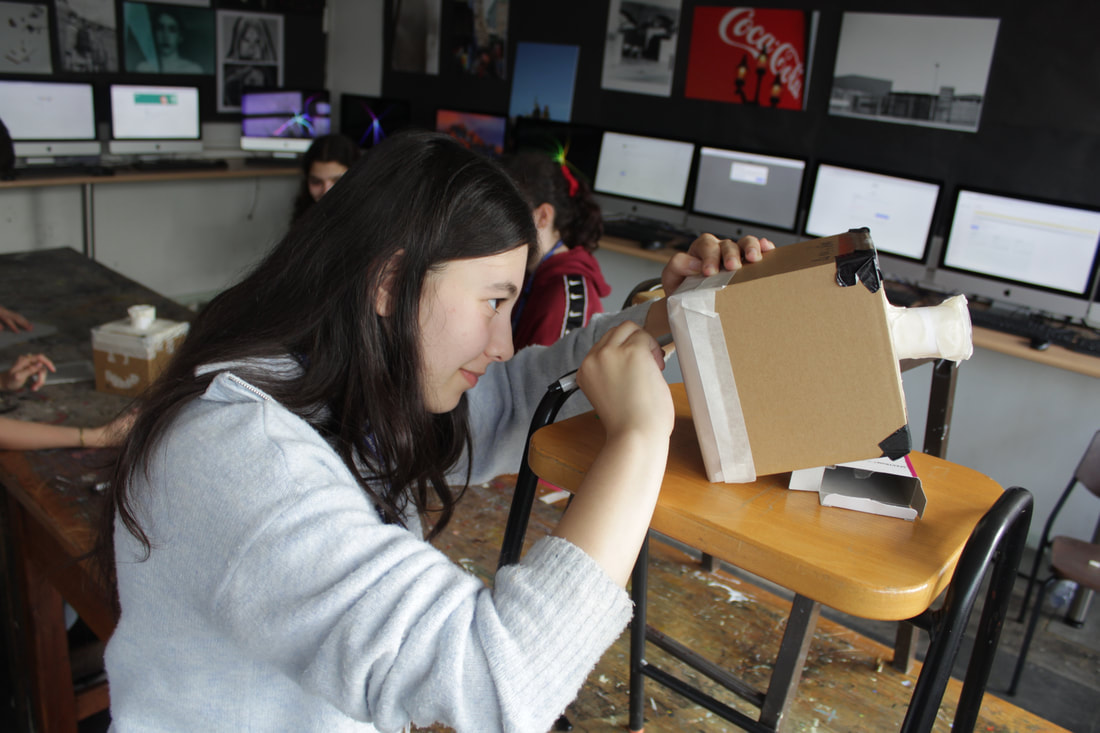
Camera Obscura : Firstly I cut a stamp sized hole in the middle of a card board box. Then I cut one side of the box off and taped tracing paper to it using masking tape. Finally, I made a tube using card and stuck on side to the hole in the box and one side to the lens.
Elements I found difficult were taping the lens to the paper tube and rolling the tube so it would be the same circumference as the lens. I resolved this issue by taping the lens on top of the tube instead of taping it inside.
The focal length is the length between the lens and the cardboard box. The focal length also describes the angle of a view of a lens. You can alter the focal length to make the projection clear by experimenting with the length away from the box and trying out different measurements. I knew I had done this successfully when the lens was at a reasonable distance and was projecting a clear picture.
WWW: the construction of the box and the focal length.
EBI: the tracing paper had much more tape so I that could have more of an ability/advantage to trace the image much more easily and quickly.
History of Photographers:
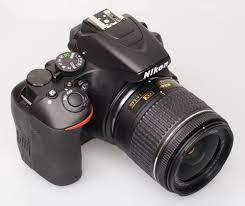
SLR Camera:
The single lens reflect camera has many functions, one of which is P (Program) - this means that the camera sets the exposure for you, as well as the aperture and shutter speed. Another function is M (Manual) this means that the photographer chooses the aperture and shutter speed. However, choosing the wrong aperture or shutter speed could mean the picture is too bright or too dark. AP stands for aperture priority, choosing this function means that the photographer chooses the correct aperture meanwhile the camera picks the shutter speed. SP stands for shutter speed and allows you to pick the shutter speed while the camera picks the exposure and aperture.
|

|
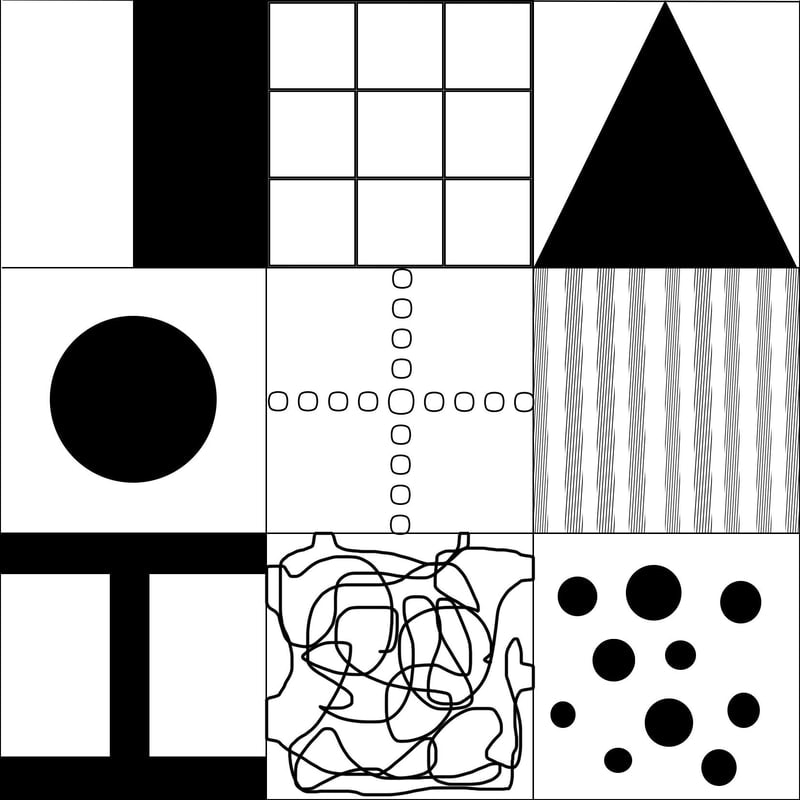
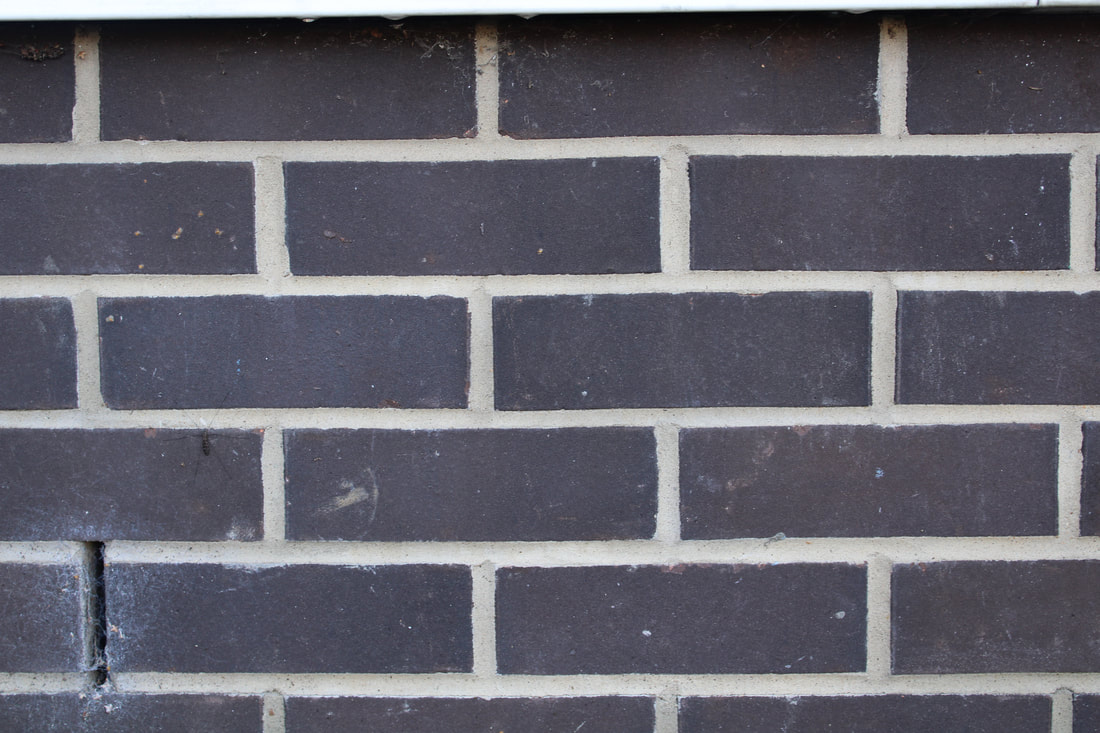
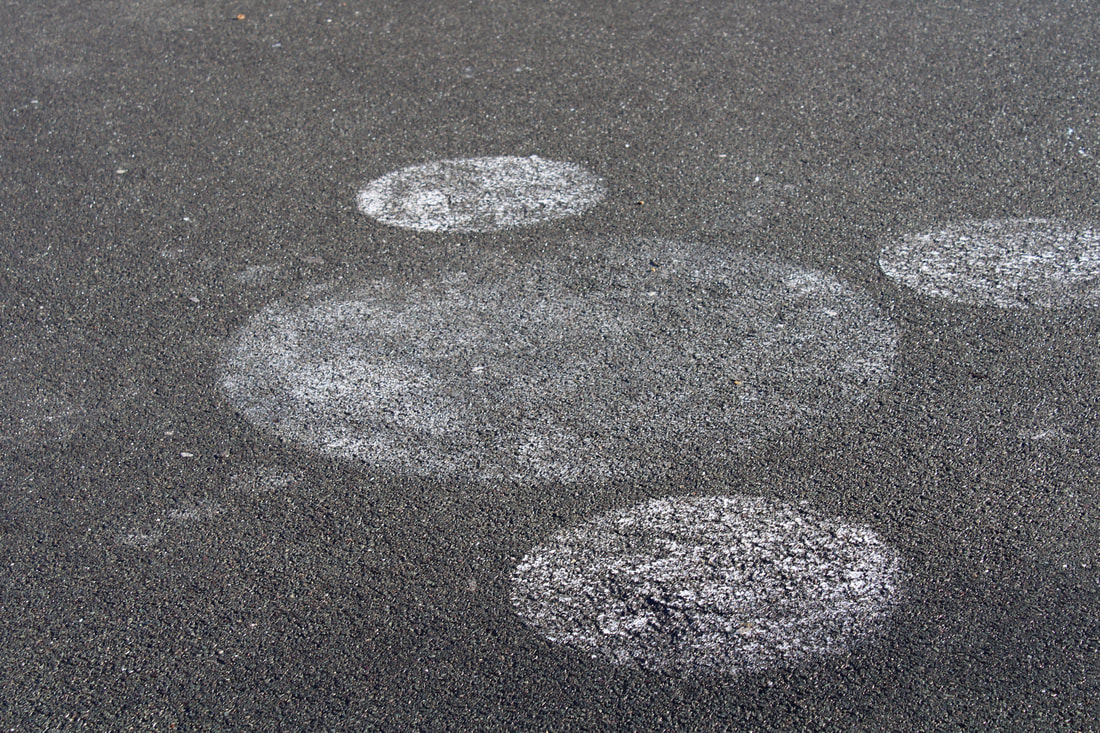
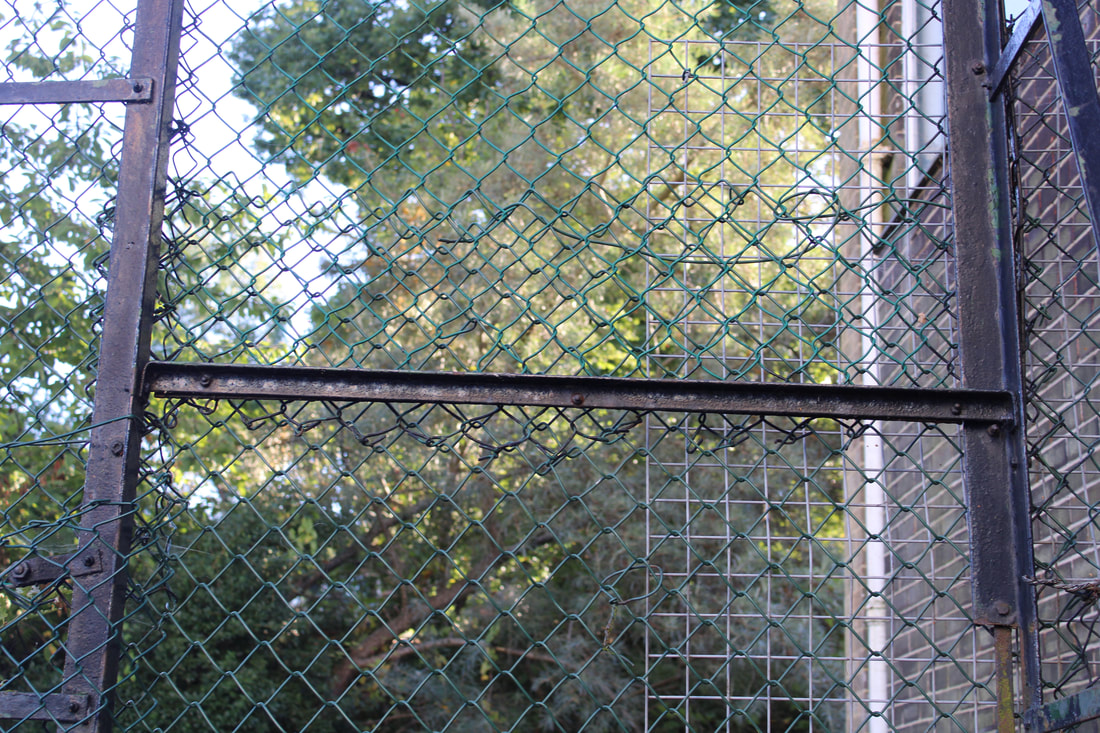
Composition through pictures:
In this task we had to find objects or symbols that represented similarities to the shapes we were given. I found this task enjoyable as it enabled us to use our creative abilities to collect a composition of images through photographs. We also had to understand the word composition which means 'putting together' and how we could apply it to our work.
WWW: Finding features of everyday objects and fabricating them through a composition.
EBI: Organised much more clearly on weebly.
WWW: Finding features of everyday objects and fabricating them through a composition.
EBI: Organised much more clearly on weebly.

|

|

|

|
|
|

|
|
|
Rule of thirds
We have recently learnt about the rule of three, where you visualise a 3 by 3 grid on your camera. Following this, you put your image in one of the right or left side columns so that there can be space and to make the image appear more pleasing to the eye.


WWW: The concept and the idea of the rule of three as well as the correct method.
EBI: The focus of the images were mainly in the rule of three, not just overlapping.
EBI: The focus of the images were mainly in the rule of three, not just overlapping.
Task about Shutter speed inspired by Natsumi Hayashi
We have recently learnt about shutter speed following our task to incorporate Natsumi Hayashi's work into our images; shutter speed is a setting on your camera that controls the "exposure" or mount of time the shutter is open. As well as this, the shutter speed is measured in fractions of a second. Using a long exposure can make a picture blurry is useful in photography, we can do this be adjusting the shutter speed to 1/30. If we want a short exposure to create a clear picture of movement we can use a shutter speed of 1/640.


For these images I set the shutter speed to 1/640, we then experimented with the poses and movements for the correct style of image.
WWW: Some images were clear
EBI: I could use different angles to accentuate the levitating illusion.
WWW: Some images were clear
EBI: I could use different angles to accentuate the levitating illusion.
Second response to the shutter speed task:
Following the first response I experimented with ways in which the outcome of the images showed more levitation which was believable.
WWW: The pictures are making it look like there is levitation happening - the angles are correct.
EBI: There was a clearer image - instead of using 1/200 use 1/1000.
WWW: The pictures are making it look like there is levitation happening - the angles are correct.
EBI: There was a clearer image - instead of using 1/200 use 1/1000.


Natsumi Hayashi
Natsumi Hayashi is a well-known Japanese photographer who is famous for her "levitation" portraits filmed at 1/500th of a second, usually against an urban background around Tokyo. She was born in Tokyo in 1982 and is known by her fans as "Yowa Yowa". Natsumi Hayashi does not manipulate her photos but adjusts her shutter speed and jumps up to "200 times" just to get her picture right. Usually, when her levitation picture is 10 seconds away in distance from the camera she gets her friend to hold the camera.


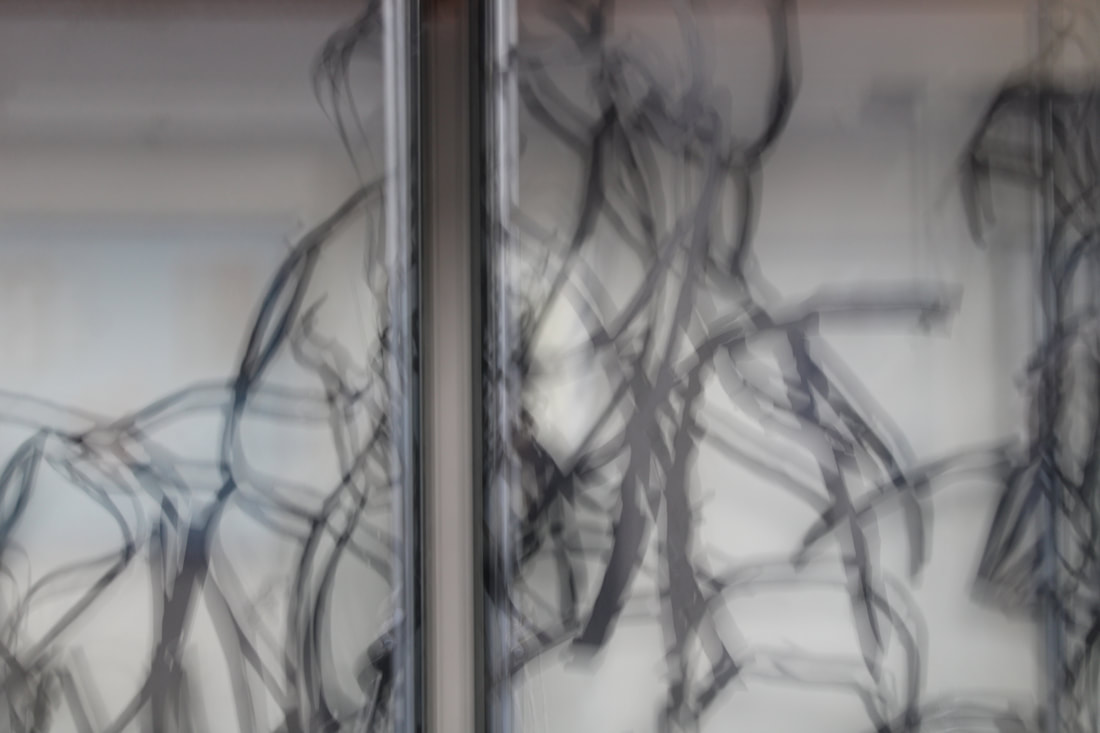
Introduction to slow shutter speed
Today, following a look at Francesca Woodman, who is famous for her ghost like pictures we attempted recreate our own 'ghost like images'. We did this by putting our shutter speed on 1/8 and tried to stay still while holding the camera as to make sure the background was not blurry as well as the person moving.
WWW: the "ghost like" poses
EBI: the camera was stiller so the background was sharper, allowing the image to be even more ghost like.
WWW: the "ghost like" poses
EBI: the camera was stiller so the background was sharper, allowing the image to be even more ghost like.
Francesca Woodman's images:
Francesca Woodman was born in Denver, Colorado, USA. She took her first self portrait at the age of 13 and continued photographing for the rest of her life. Although she used many different cameras, she mostly used medium format cameras, which she took over 10,000 images on. Her estate consists of over 800 prints of which only 120 images have been released to the public. Many of her images are untitled, with no location or date, with her often taking the photos in abandoned and derelict properties. On January 19th 1981, Woodman committed suicide due to her depression which resulted from no attraction of the public for her work.


Slow shutter speed images after photoshop
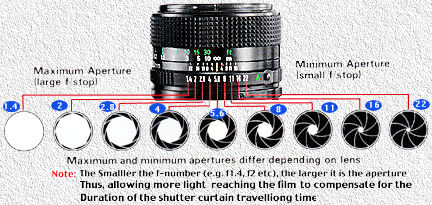
Aperture
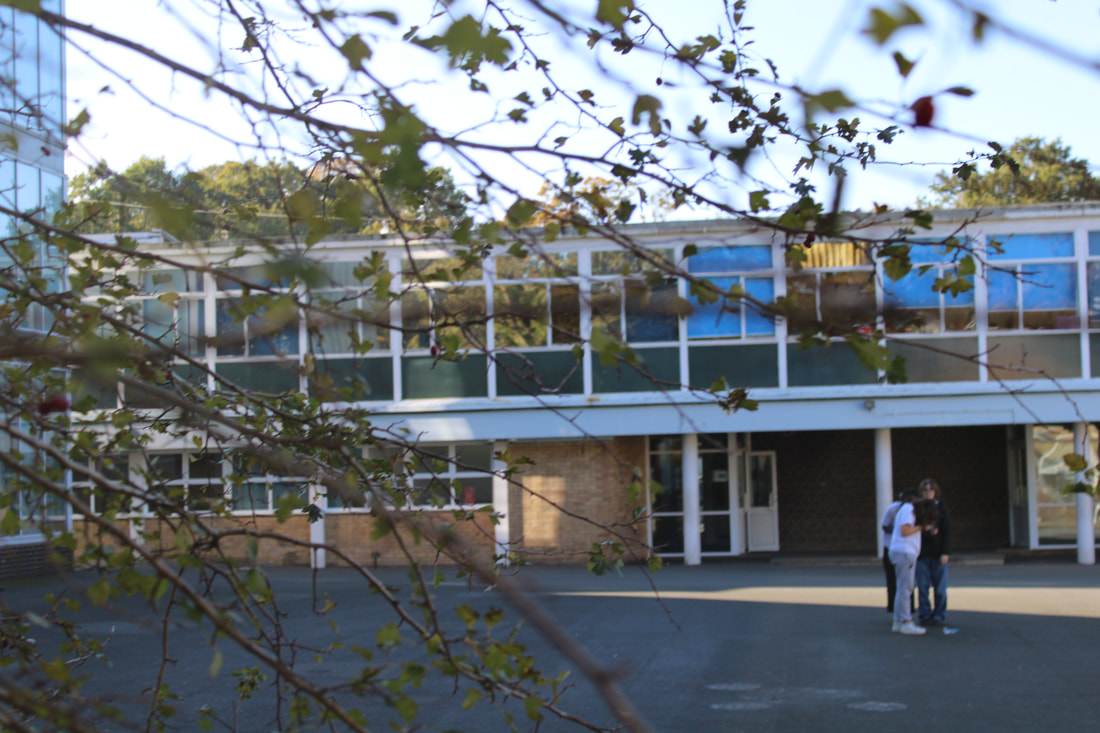
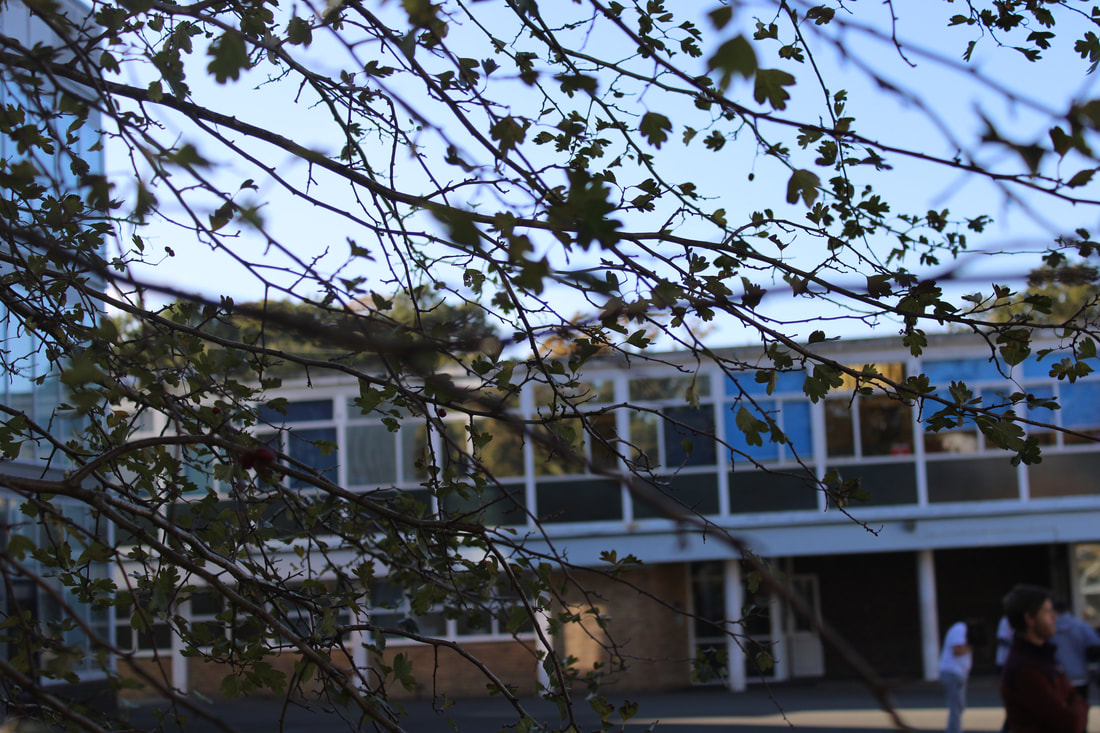
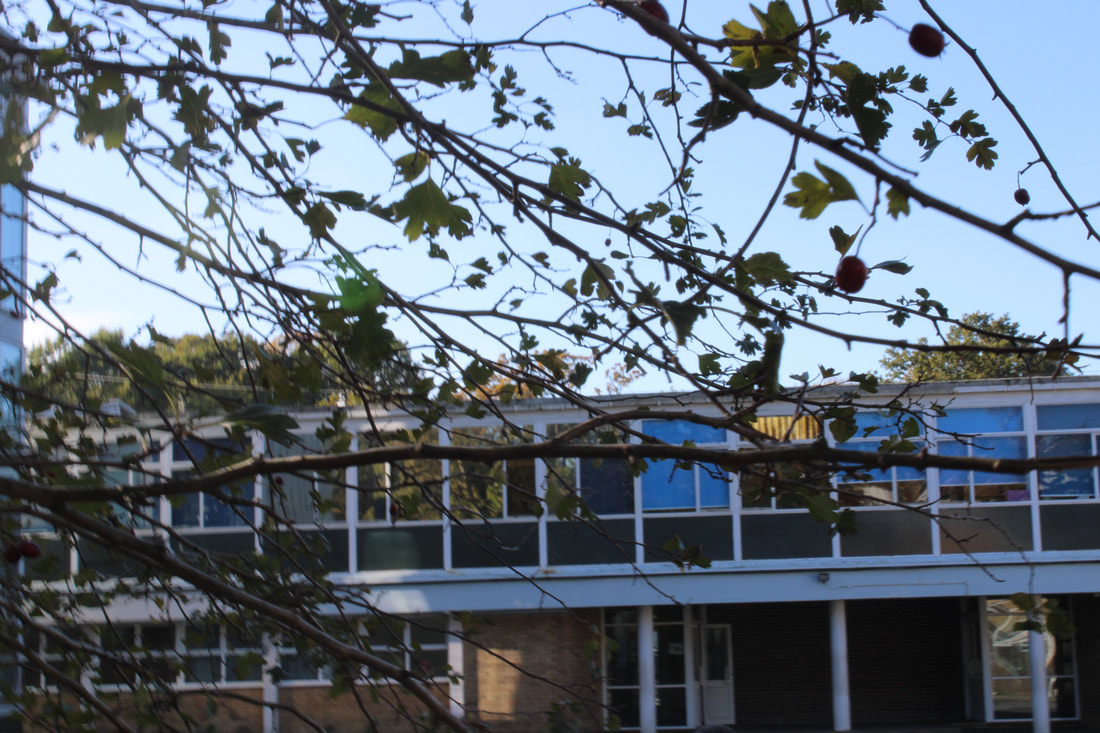
In photography we are currently learning about Aperture. Aperture lets you have an impact on the amount of focal range in focus, behind and in front of your image. We took images taking different aperture settings, the following images are f5, f17 and f22.
|
|
|
WWW: The right type of image to portray aperture.
EBI: To control the sharpness of the image a bit better.
EBI: To control the sharpness of the image a bit better.
Second response aperture
We revisited aperture and reevaluated, the following images were taken at f5, f17 and f22. The focus of the image shows how the aperture can affect the sharpness of the image.


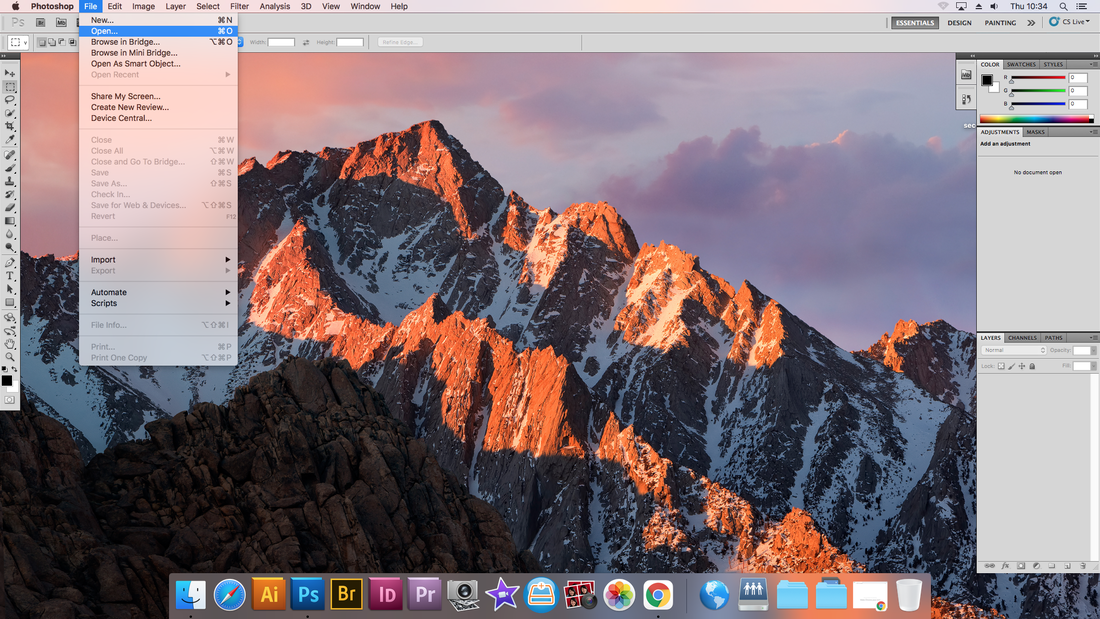
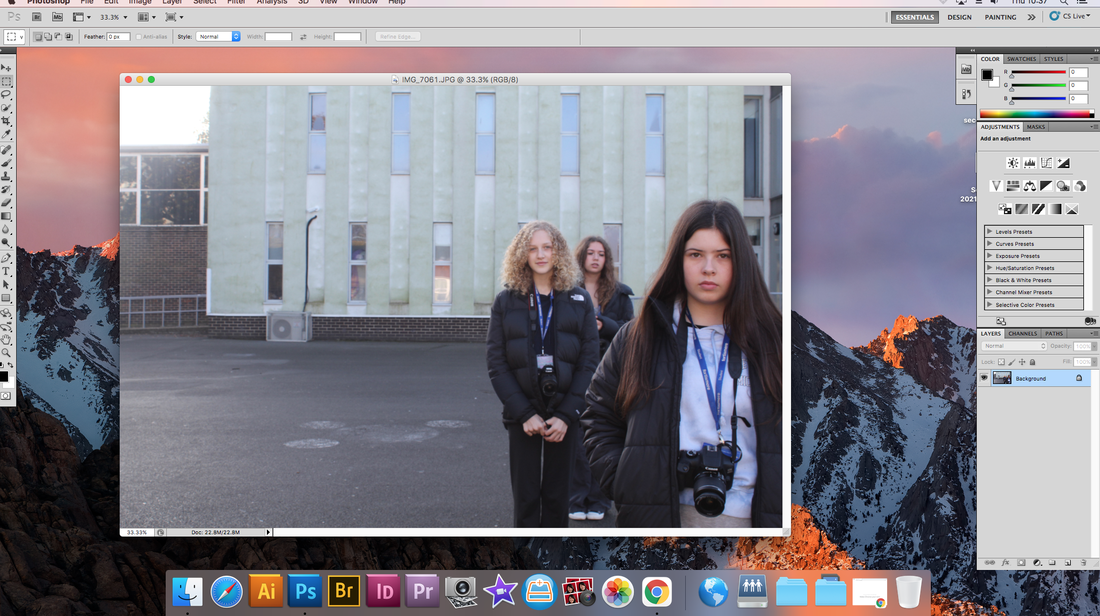
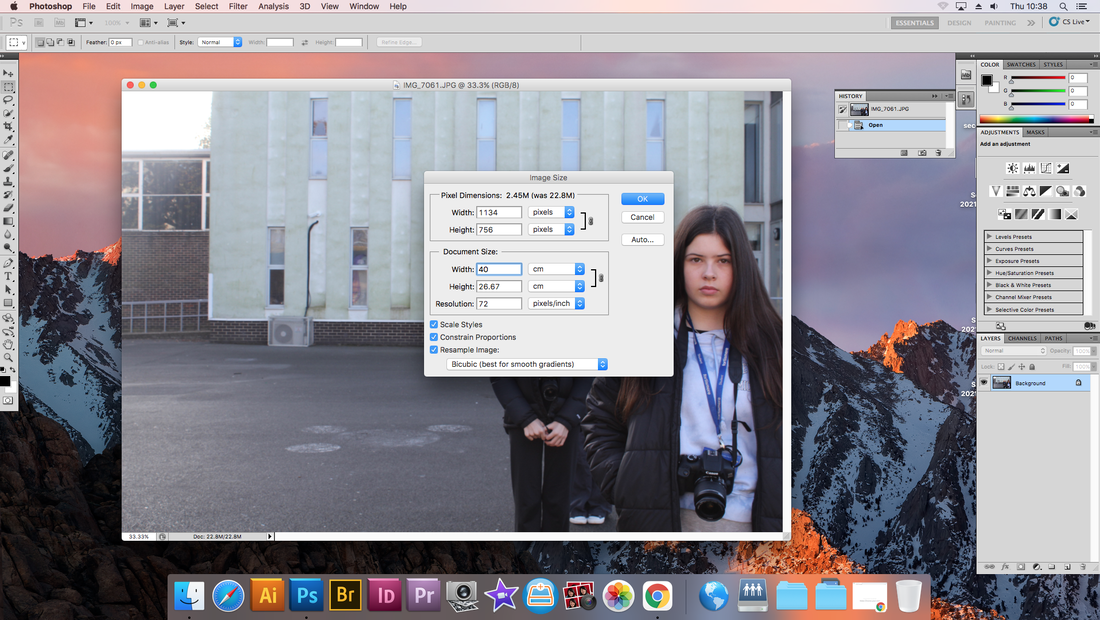
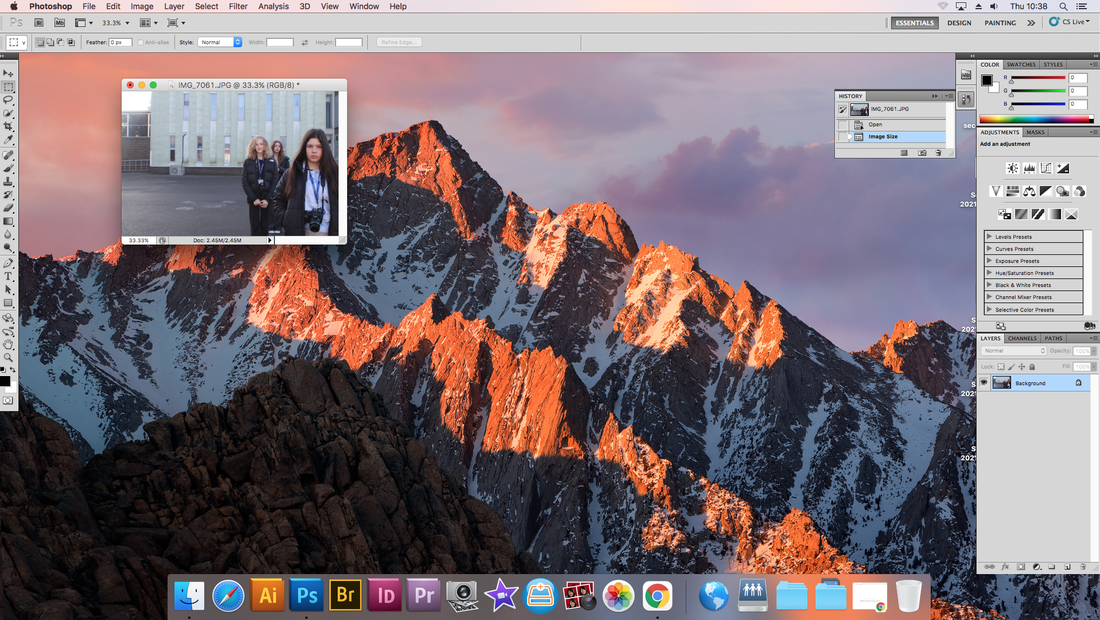
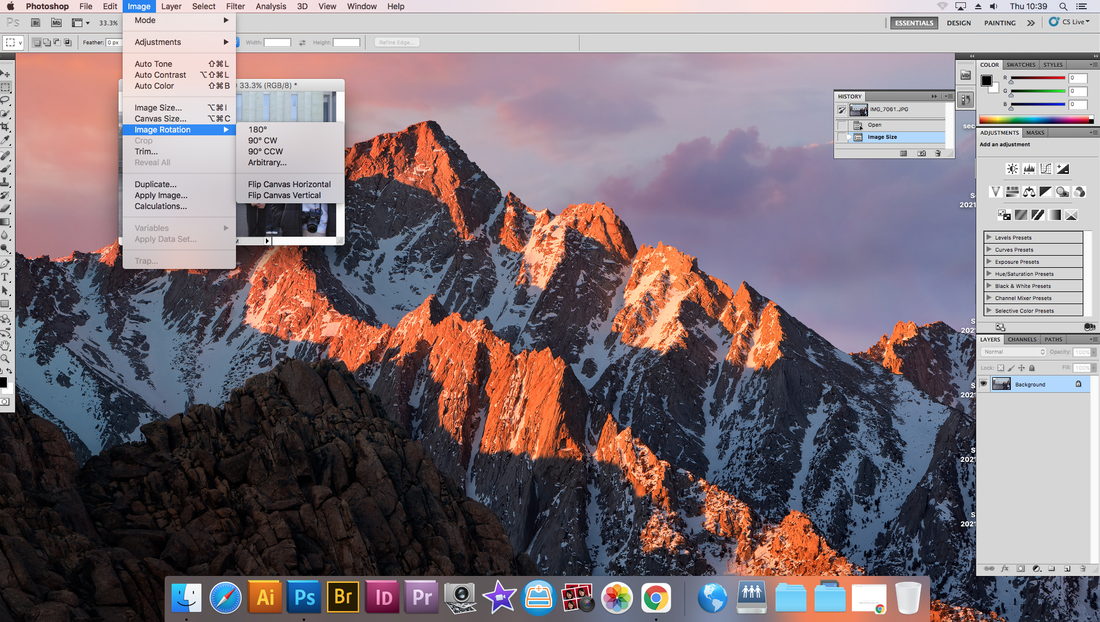
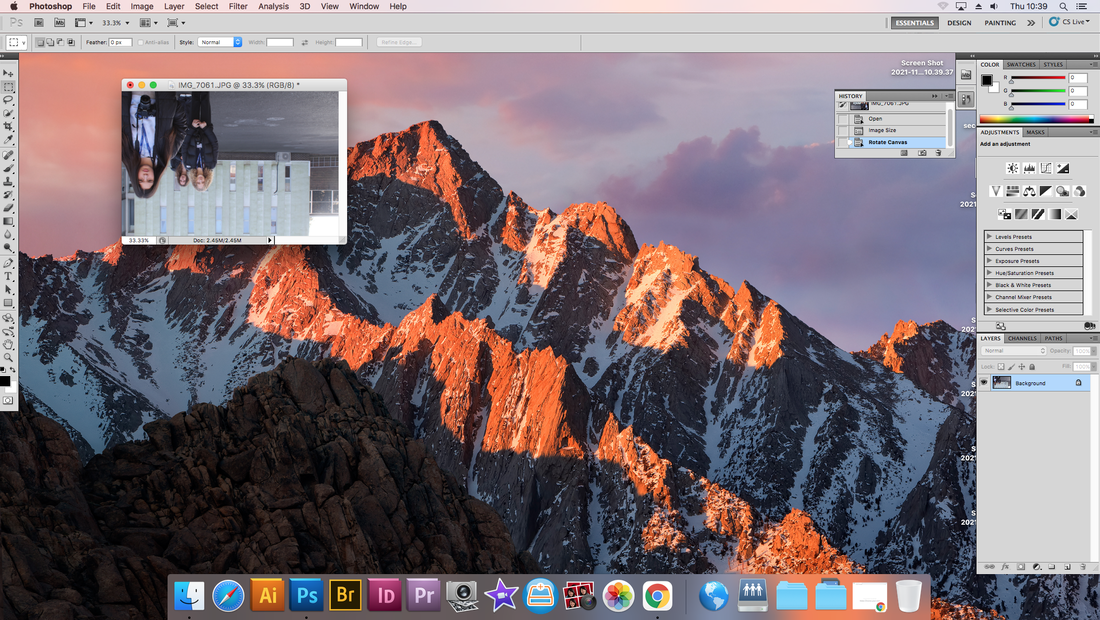
Introduction to photoshop
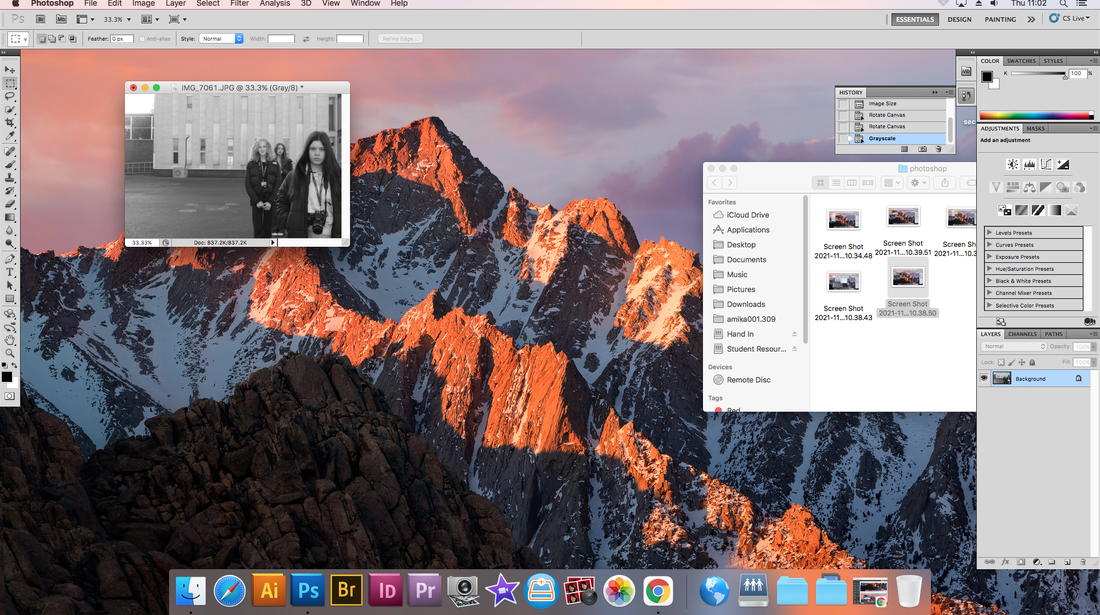
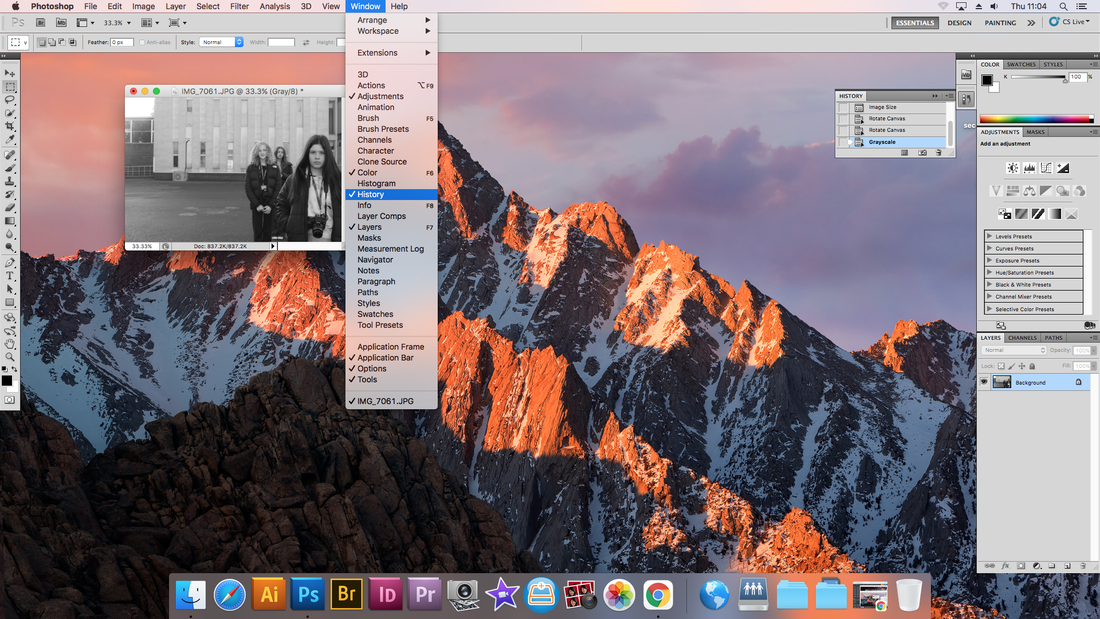
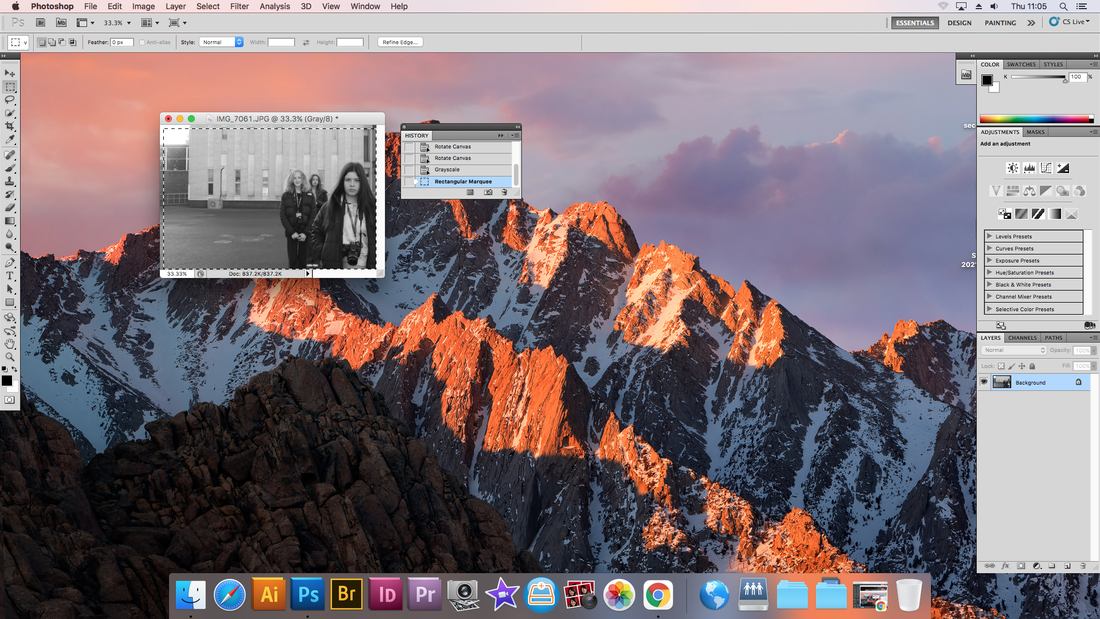
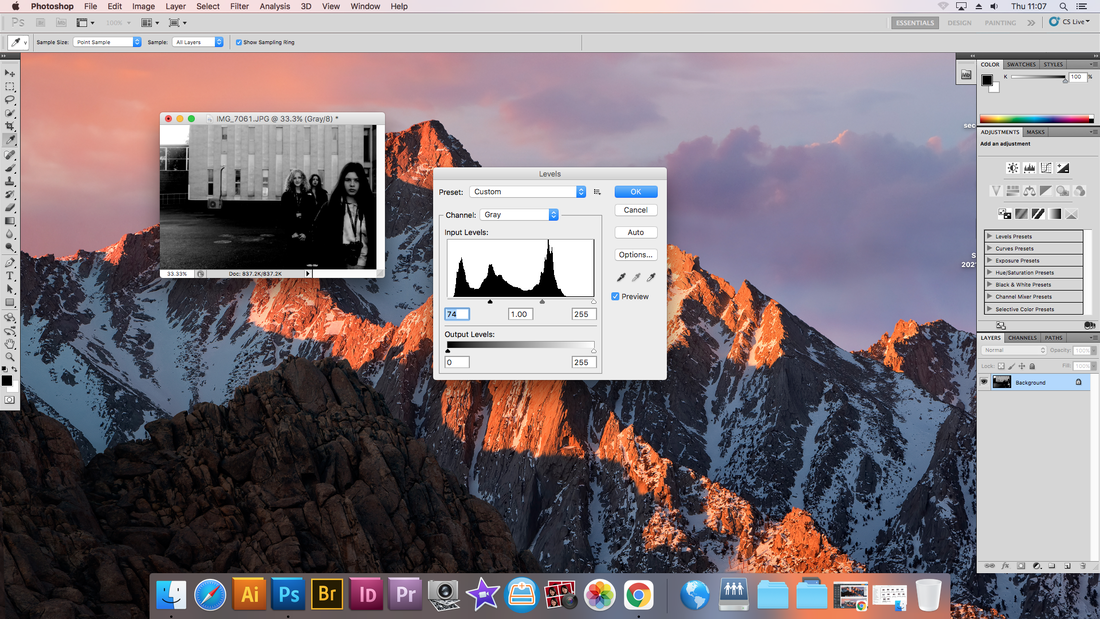
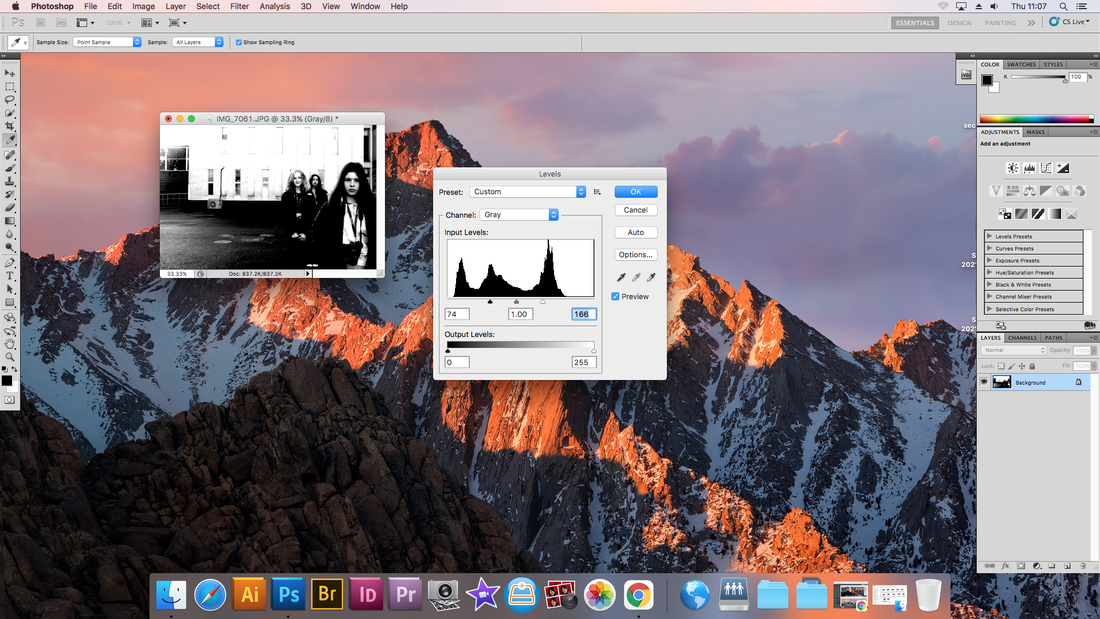
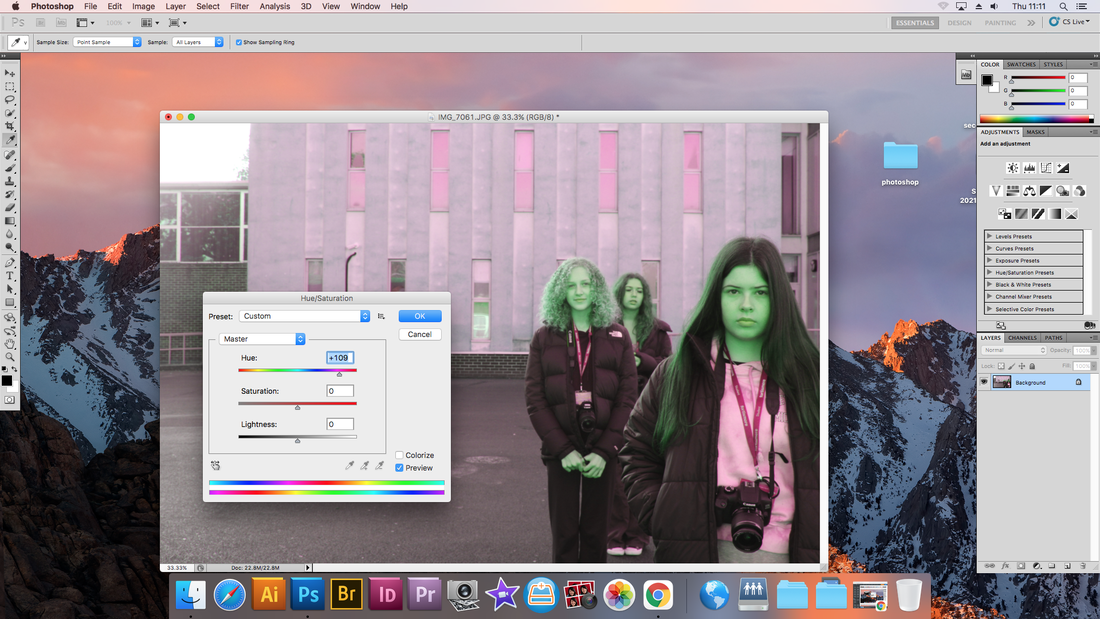
The following images show how to open a document, manipulate saturation and colour balance in photoshop. These techniques could be used to incorporate themes into the image.
WWW: Understanding why and how you can saturate certain images.
EBI: There were more options to saturate and colour balance certain details.
WWW: Understanding why and how you can saturate certain images.
EBI: There were more options to saturate and colour balance certain details.


Using gradient to alter an image
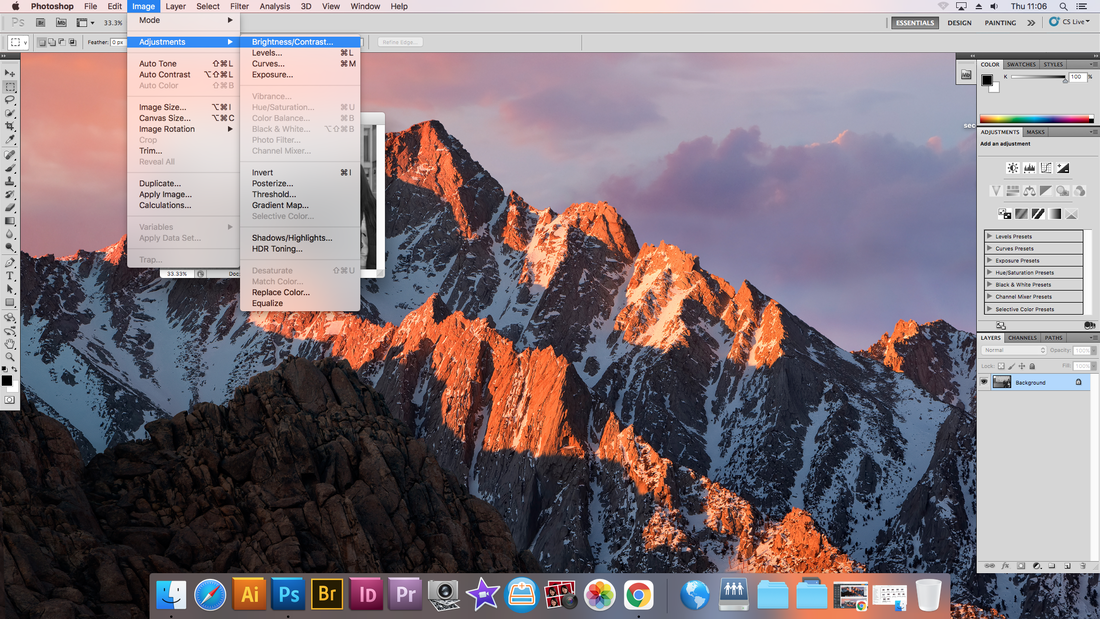
Using the gradient tool in photoshop, you can alter the entire image's colour balance. We learnt this by opening an image in photoshop, going to brightness and contrast under the image title. Following this, you click on filter on filter gallery and choose to cutout the image. You can then go onto gradient and select the colour palette you wish.


Examples of the before and after:


WWW: Some colour palettes could clearly differentiate different parts of the face
EBI: Some colour palettes weren't so similar in colour.
EBI: Some colour palettes weren't so similar in colour.
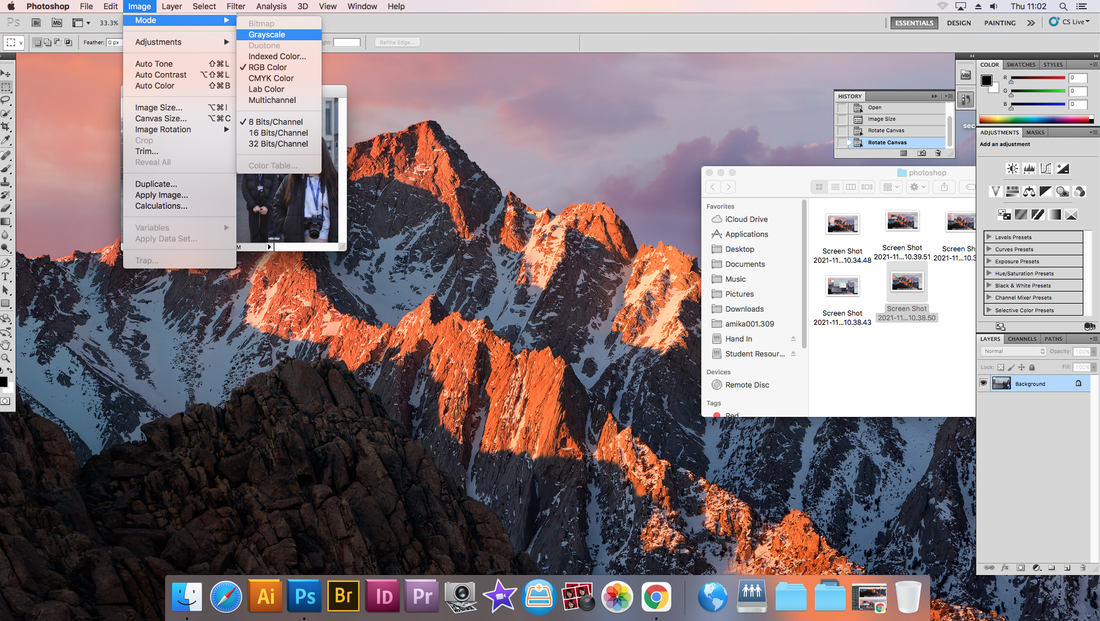
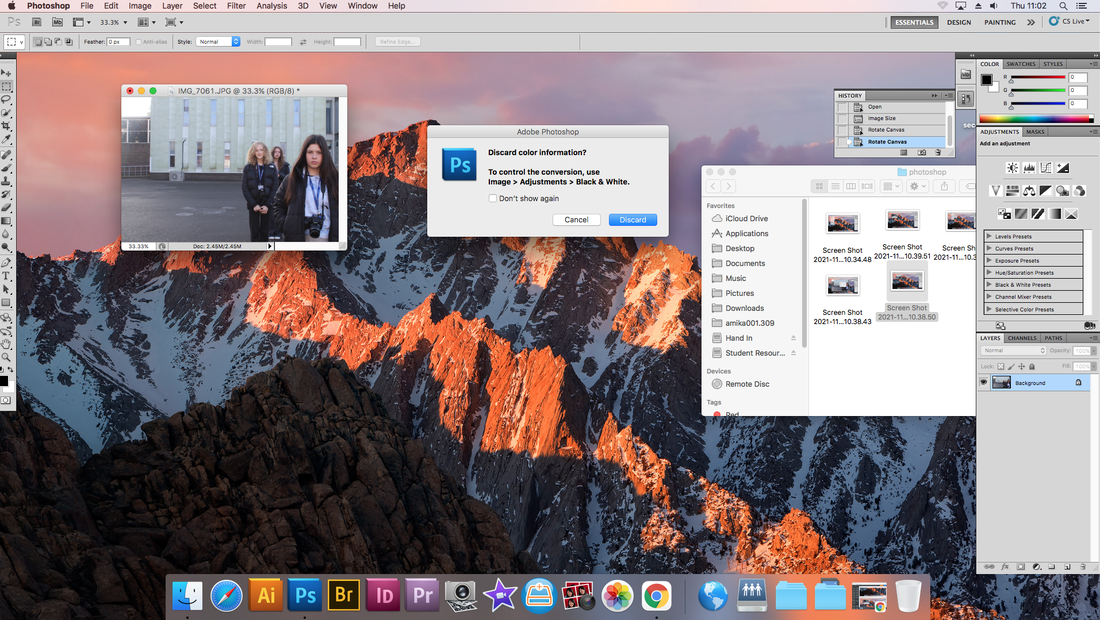
Making a mixed black and white image with colour
We learnt about mixing a black and white image with colour in photoshop, we did this by opening up photoshop and then duplicating our image to make layers, followed by making the image on the top layer coloured whilst the bottom is black and white. We then erased out the parts we wanted black and white to make the image seem like a mixed image but it is actually 2 alluding 1.


WWW: The process of doing this was quite straightforward
EBI: However I think I needed more time to erase what I wanted more carefully and delicately.
EBI: However I think I needed more time to erase what I wanted more carefully and delicately.
Making GIFs
We were tasked with making GIFs with GIFMaker.me. First we learnt that GIFs are just an image file that can hold multiple images at once which can load sequentially to convey an animation. To make the GIFs, one of us stood still with the camera whilst the other moved a step or two between every image. We experimented with different types of movement and found different outcomes; the smaller the step the more animated looking the GIF. We came back and uploaded the images in a sequenced order to GIFMaker.me, an online website which loads multiple images in one.
We experimented with alluding floating and made shapes with our movements.
WWW: The stillness of our hands was quite good as well as the quality of some of the GIFS
EBI: Unfortunately, GIFMaker.me would not remove images you had uploaded by accident unless you wanted to start again, this caused multiple of the GIFS to have an anomaly in the sequence.
WWW: The stillness of our hands was quite good as well as the quality of some of the GIFS
EBI: Unfortunately, GIFMaker.me would not remove images you had uploaded by accident unless you wanted to start again, this caused multiple of the GIFS to have an anomaly in the sequence.


This was how we made the GIFS.
Making GIFs with Photoshop


Making GIFS with photoshop was much harder than making it with GIfMaker.me, this was because there were much more steps and became very confusing as it contributed colour into the process.
WWW: The end result was much more clean and we could take out images we didn't want in.
EBI: The process and downloading was easier and much more straight forward to upload to Weebly.
WWW: The end result was much more clean and we could take out images we didn't want in.
EBI: The process and downloading was easier and much more straight forward to upload to Weebly.
Romain Laurent
|
Romain Laurent is a conceptual photographer who generates high concept ideas and puts them into images, he was born and raised in the French Alps but now currently resides in L.A with his wife and dog. He has worked with clients such as Adobe, Nike, Google, Hermes and Starbucks.
|
|


Light Photography
Today we learnt about Light Photography following Michael Bosanko. We used the Manual setting on our cameras and moved a torch, drawing an image whilst the other person held onto the camera.
WWW: Experimenting with different ways the torch could portray different images, such as turning the camera on and off between the shoot.
EBI: to have a clear background.
WWW: Experimenting with different ways the torch could portray different images, such as turning the camera on and off between the shoot.
EBI: to have a clear background.
Michael Bosanko - Light images.


Michael Bosanko is a light photographer and artist based in Cardiff, UK. He transforms landscapes by using coloured torches like a paintbrush as well as a long exposure camera setting to create these images. He believes his work is a reflection of his dedication and passion for all of his collections.
In 2004 he made a mistake which changed his life of photography. He quickly discovered that by putting the camera in long exposure he could move the camera with his hand and use the moon to write out letters. He discovered light photography after this and believed that his work after this was just a 'trial and error'.
In 2004 he made a mistake which changed his life of photography. He quickly discovered that by putting the camera in long exposure he could move the camera with his hand and use the moon to write out letters. He discovered light photography after this and believed that his work after this was just a 'trial and error'.
Making GIFS with light photography
Following GIFS and recently light photography, we have incorporated the two into our work. The result is using light photography to make still images in different movements to show a loop. After we created these images we uploaded them to GIFmaker.me to pull all of the images together and to alter the speed.
WWW: Some of the GIFS were clear with the movement - such as the fireworks below.
EBI: If we had more awareness of where we placed the torch and how different/similar it was to the previous image taken.
WWW: Some of the GIFS were clear with the movement - such as the fireworks below.
EBI: If we had more awareness of where we placed the torch and how different/similar it was to the previous image taken.


The presentation of your weebly is good and each section has been thought out and completed. Please also make sure that all the images shown are in focus and bright enough and number of your images are a little soft in focus.
Your Aperture work needs to have the apertures used placed under the images to demonstrates your understanding of photographic technique. Your giffs and colour B/W images are also good and and show a developing understanding of photoshop technique.
Double check all of your explanations to ensure that you explain tasks and processes thoroughly. You also need to expand your analysis of the artists going more in depth about their visual practice and how it relates to your work.
Continue to experiment and practice the techniques introduced during foundation. Make sure to persevere with tasks until you get the required outcome.
